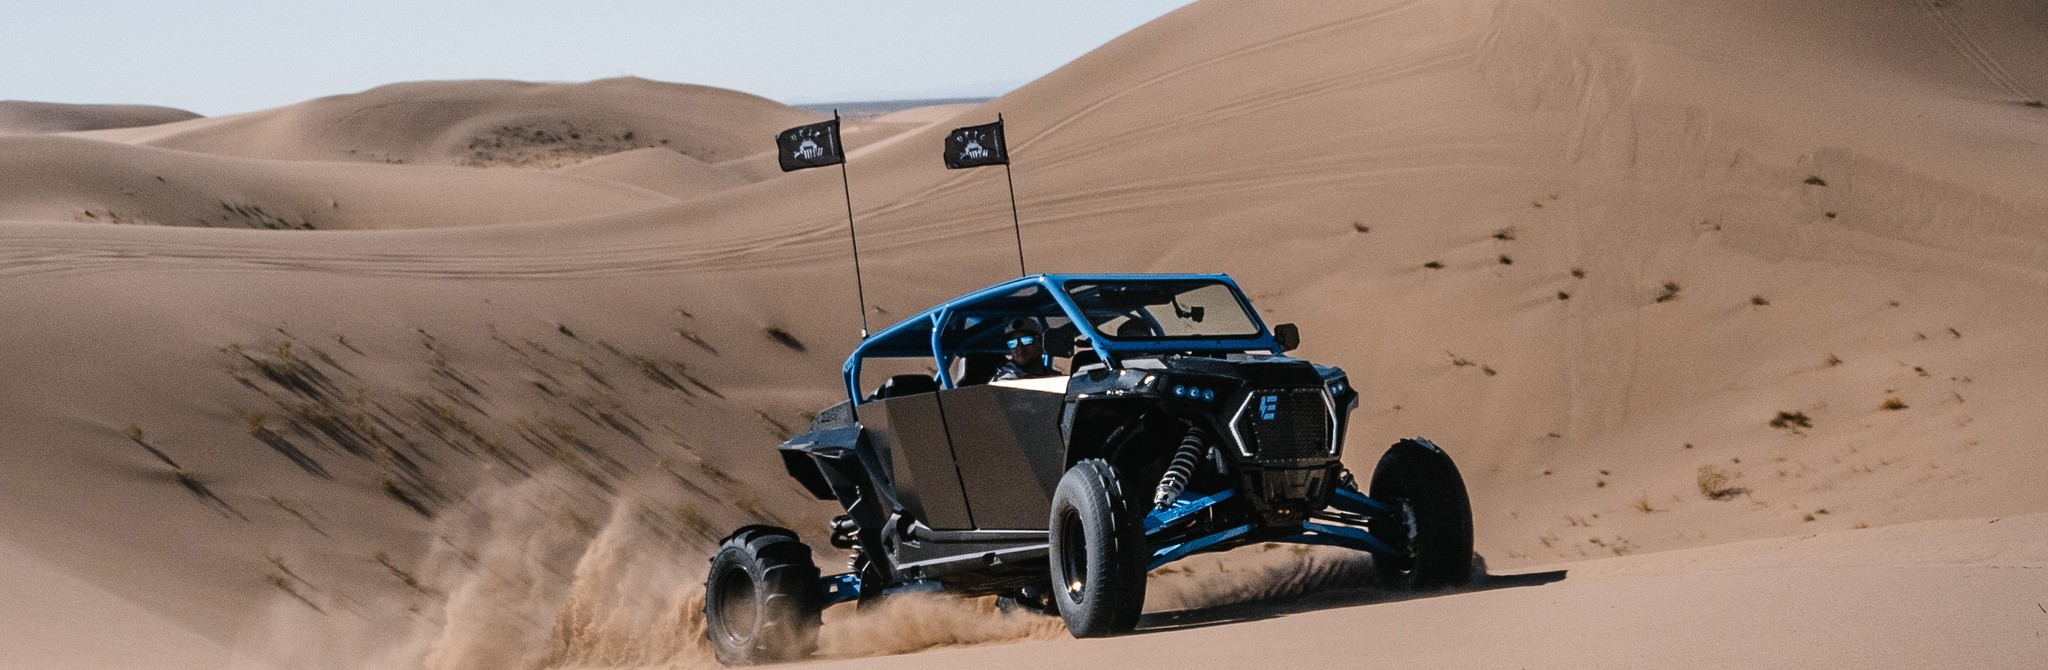
HOW TO INSTALL KLEARTECH®
What You`ll Need
- KlearTech EZ-Gel install solution (Optional)
- Rubber squeegee (Optional)
- Microfiber Cleaning cloth
- 70% iso rubbing alcohol (Recommended) or soap & water
- Hobby Knife or Scissors (Optional)
- Hair dryer or heat gun (Optional)
- Time and Patience
What You`ll Need
- EZ-Gel install solution (Optional
- Rubber squeegee (Optional)
- Cleaning cloth
- 70% iso rubbing alcohol (Recommended) or soap & water
- Hobby Knife (Optional)
- Hair dryer or heat gun (Optional)
- Time and Patience
-
Preliminary Notes:
- KlearTech Off-Road Protection Film (OPF) kits will install, show,
and perform best when installed on a new and clean surface.
- OPF can be installed overused or slightly worn areas including chips or scratches but existing blemishes can and will show through affecting the desired finish. OPF Installation always requires a wet application.
- For best results use KlearTech EZ Gel.
- Installation experience and your choice of installation solution will affect the ease of installation.
- All film requires a minimum of 24 hours to cure after installation prior to use.
- It is also highly recommended to closely inspect the install and re-squeegee the surface and all edges to ensure the edges are sealed.
- If any stubborn bubbles or wrinkles remain, it’s likely they will go away after you re-squeegee.- KlearTech OPF kits are designed to install starting with the largest area-section of a piece
first.
-Since OPF can easily stretch 20-30%, the thinner sections of a piece will stretch veryeasily, therefore be cautious of this to avoid excess deformation.
-If customizing the film is necessary, carefully mark the film with a pen or sharpie and cut with scissors.
-If using a hobby knife, lift the film and use your squeegee as a small cutting board to avoid cutting on the vehicle surface.
-Pro Tip: Use the extra film found on the kit sheet to practice and get familiar with your film.-Cleaning & Prep: A new, unexposed surface is always the ideal surface.
-
Cleaning & Prep:
Cleaning & Prep: A new, unexposed surface is always the ideal surface.
1. Surface Prep: Highly recommended - The entire vehicle must be washed and cleaned of
any dirt, dust, scuffs, oil or contamination.2. Remove any components nearby to allow for easy access and room to work the
squeegee.3. Spot clean the installation area and its surroundings with 70% iso rubbing alcohol and a
micro fibre towel.4. Once again ensure any existing stains or contamination is removed. Once the film is
installed you will be locking-in anything that shows underneath.5. Use a squeegee wrapped in an alcohol soaked ragged to reach any cracks or edges.
6. Complete by doing a final surface wipe with alcohol. Repeat as necessary.
-
Film Prep:
1. On a clean table, lay flat your KlearTech OPF kit.
2. Inspect the kit layout and your kit guide to become familiar with where each piece goes.
-
Install:
1. Clean the installation surface a final time.
2. Using KlearTech EZ Gel, spray a light coat to uniformly cover the installation surface.
Note: If you did not buy the EZ gel kit look in the tab bellow for instructions on how to install with household items.
3. For the cleanest results, wet your hands with water before removing each piece from the
kit to be installed. Minimize your contact with the adhesive. Keeping the film adhesive side
up while transferring the film to the surface is also helpful to avoid it from inadvertently
sticking to something.
4. Smoothly apply the film to the surface allowing it to float or slip not worrying too much
about alignment.
5. Once the film is floating, carefully move and position the film to fit its correct place. Look
to keep all edge spacing consistent.
6. With the film in its desired position, spray a small amount of EZ Gel to wet the top of the
film. Lightly squeegee a small section in the center of the film to lock the film into place (this
is the locking-point). You may need to use your other hand to keep the film in place. Re-
squeegee the locking-point a few times to get most moisture out.
7. Continue to squeegee the EZ Gel always starting from the center and working out.
Overlap strokes while working your way to the edges.
8. After the piece is installed, it’s common to have small bubbles or “fingers” (small creases)
on the edges. Spray alcohol into the edges and re-squeegee down. If the fingers persist to
not stay down, let the film dry out for an hour or two and re-squeegee. You can speed this
process up by using a hair dryer or heat gun. If using a heat gun keep the setting low or the
heat gun at least 1 foot away from the film.
9. Using 70% iso alcohol clean your installed piece to inspect for any bubbles or mistakes.
Wipe with a microfiber center out. Do not push into any film edges. Address any bubbles or
moisture left behind when first seen. Re-squeegee the bubble or moisture to the closest exit
edge. If necessary, carefully lift portions of the film section, re-spray EZ Gel, and squeegee
again from the center out. -
So, you didn't' buy the KlearTech EZ Gel and squeegee kit?
No worries. You will still be able to install your OPF with common tools found in most homes.
-First, you need a squeegee substitute like a credit card wrapped once in a paper towel.
-Second, make a slippery (soap) solution by putting 1-2 small drops of dawn dish soap into a 12 ounce spray bottle (or any regular bottle and poke a small hole in the cap) with room temperature water. Apply the film, slide it into position and squeegee the excess liquid.
-Next, you will need another bottle filled with hot water - this will act as a flush and tack medium.
-Use the hot water in small areas like corners and edges to lock the film. Note: Use the extra film found on the KlearTech sheet to practice and become familiar with your slip and hot water solutions. -
Disclaimer:
*KlearTech is not responsible for installation quality.
*Install at your own expense. For best installation success, follow directions exactly
associated with your kit.
*KlearTech is not responsible for user customization.
HOW TO INSTALL WINDSHIELD OPF
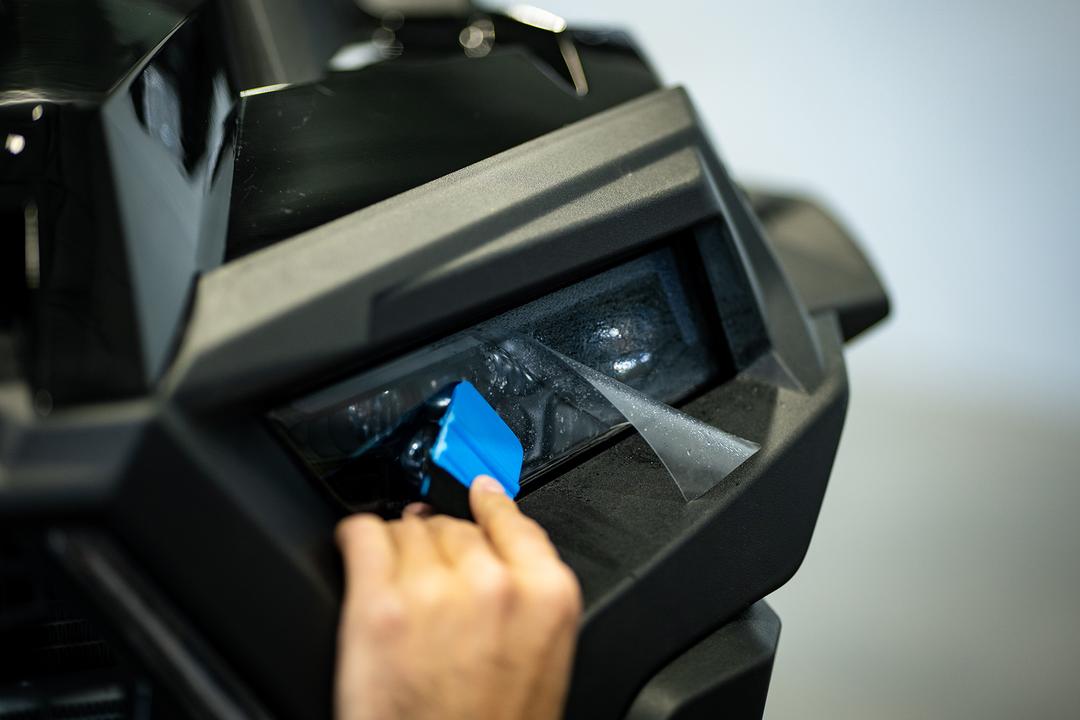
EZ GEL application fluid.
KT EZ Gel is the preferred, all in one, installation solution choice. It will drastically eliminate the guess work in old school water and soap solutions. KT EZ gel is thickened water and alcohol mix concentrate. The gel enacts a “mechanical slip”
When used, the gel provides a working barrier between the surface and adhesive allowing for more time to set alignments.
Once film is aligned and the gel is squeegeed out from under the film, the films bond and cure time drastically improves.
Because of the concentrate solution, KT EZ Gel extends your working window of installation time much longer than soap.